DIY soil sampling for a lab test
Take 8–10 random cores, mix them, label the zone, and send a sample that actually represents the lawn.
DIY soil sampling for a lab test
A soil test is only as good as the sample you send. A sample from one dry patch, or a mix of the front lawn and the back, can produce a confident-looking report that describes the wrong area.
You do not need a special probe to start. A trowel, a clean bucket, and a lab kit are enough. A probe makes the job faster and more consistent.
One sample per zone
Sample separately when the soil or the symptoms differ:
- front and back
- sun and shade
- good grass and bare, mossy, or wet grass
- areas with different soil, fill, or drainage
Do not mix a healthy zone with a problem zone and expect the report to explain the difference.
Depth: follow the kit, not a forum
Penn State Extension's soil-testing guidance for lawns says to take a core about 4 inches deep from 8 to 10 random locations, mix them, and fill the bag. The Penn State Agricultural Analytical Services Lab's turf instructions use a 2 to 3 inch depth and 12 or more locations.
The difference is a good reminder: the instructions that come with your kit are the ones to follow. Remove thatch and surface debris, then sample the soil. Do not sample just the thatch or a fertilizer band.
What you need
- A soil probe, trowel, or small shovel
- A clean plastic bucket
- The lab's sample bag and form
- A ruler or depth mark
- A permanent marker
- A clean surface to air-dry the sample if the lab asks
Steps
- Mark the zone. Write "front lawn," "back shade," or another clear label on the bag and form.
- Take 8 to 10 random cores. Walk a zigzag or grid across the zone. Do not pick only the best or worst spot.
- Sample to the kit's depth. For many lawn kits that is about 4 inches; some labs specify 2 to 3 inches. Remove thatch first.
- Mix the cores in the clean bucket. Break them up and mix thoroughly.
- Fill the bag. Use the amount the lab requests. Do not stuff in extra soil.
- Label and complete the form. Include the zone name and what you are growing.
- Air-dry if required. Spread the sample on clean paper in a warm room. Do not heat it, microwave it, or bake it.
- Submit it. Keep a photo of the form and note the date.
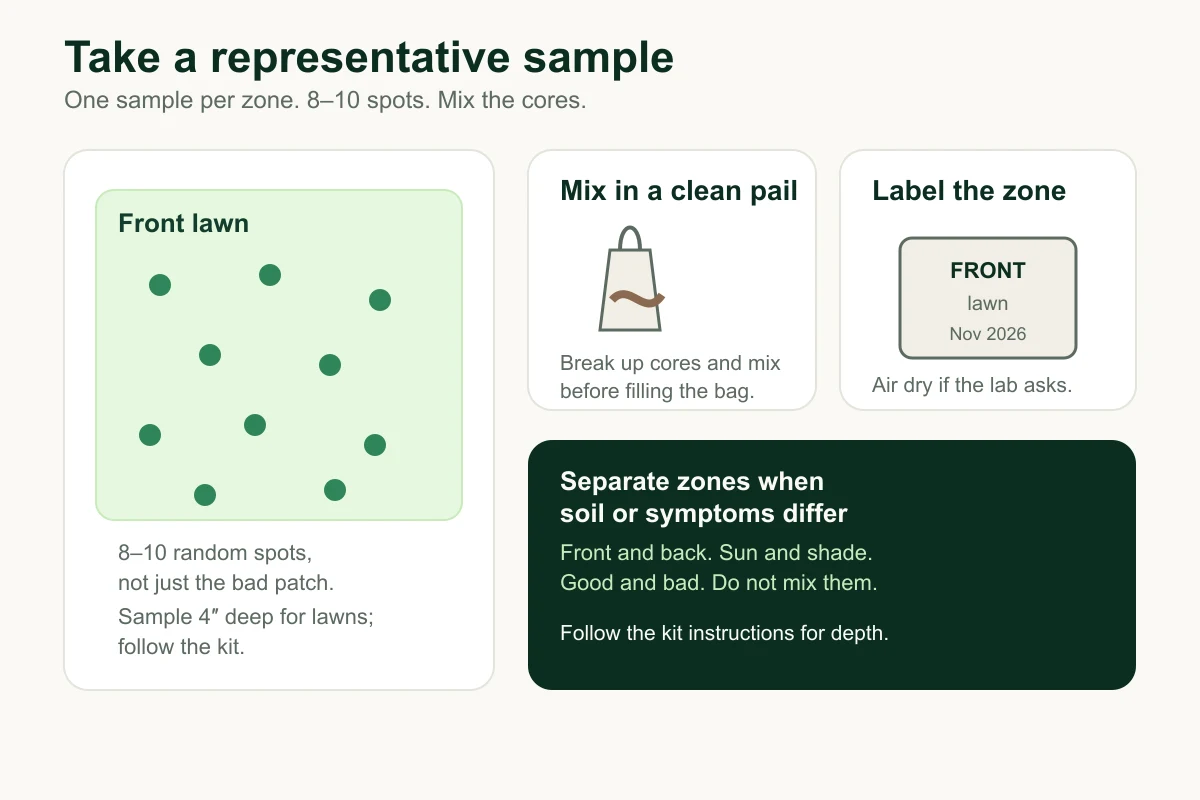 One sample per zone, 8–10 random spots, mix the cores. Tap to enlarge. TurfLab diagram.
What not to do
- Do not sample immediately after fertilizing, liming, or topdressing. The sample can misrepresent the soil.
- Do not use a dirty bucket or a rusty tool.
- Do not sample a wet, saturated lawn. Wait until it drains.
- Do not mix zones with different soil or symptoms.
- Do not guess the depth. Measure it once and mark the tool.
- Do not add lime or fertilizer before the report comes back.
Read the report in context
A soil report usually includes pH, phosphorus, potassium, calcium, magnesium, and a lime or fertilizer recommendation. Use it with the fertilizer guide and the fertilizer calculator. Pennsylvania's fertilizer law still applies.
If the report recommends lime, that is a soil-test decision, not a default. Do not add lime because a neighbor does or because a bag says "lawn."
When to sample
- Before a full renovation, at least a few weeks before you plan to seed.
- Before a fertilizer program if you have not tested in several years.
- After a major change in soil, drainage, or topdressing.
- When a problem area will not respond to the same treatment as the rest of the lawn.
The renovation timeline shows where the soil test fits. The soil-test guide explains how to use the results.
Sources
- Soil Testing — Penn State Extension
- Soil Sampling Instructions — Penn State College of Agricultural Sciences
Sources support the general guidance; product labels and local law control any application. See our terms.